Install NEMS Linux on a Raspberry Pi
What You Need
Raspberry Pi 3 Model B or higher model RPi
16 GB or higher fast MicroSD card or USB Flash Drive
A reliable, high-quality power supply for your RPi, preferably connected to a UPS
An Ethernet cable
Video Demonstration
Instructions
Install NEMS Linux to MicroSD
Download the latest version of NEMS Linux from https://nemslinux.com/
Install the Raspberry Pi Imager from https://www.raspberrypi.com/software/
Click “Choose OS”
Click “Choose Custom” at the bottom of the list
Browse to your downloaded copy of NEMS Linux
Click “Choose Storage”
Insert your MicroSD card or USB Flash Drive
Carefully select your MicroSD card or USB Flash Drive
Click “Write”
First Boot
Connect the MicroSD card or USB Flash Drive containing NEMS Linux to your Raspberry Pi
Connect the gigabit Ethernet port of the Raspberry Pi to your network using an Ethernet cable
Power on the Raspberry Pi to boot your NEMS Server
Wait approximately 5 minutes to perform first-boot operations
During the first-boot operation, the filesystem will be automatically resized to the capacity of your storage and the NEMS Server will reboot.
After the first-boot operations have completed, visit https://nems.local/ in your web browser. If name resolution doesn’t work, try the IP address of your NEMS device instead, which you can find in your router’s DHCP leases table, or on a TV connected to your NEMS Server’s HDMI port.
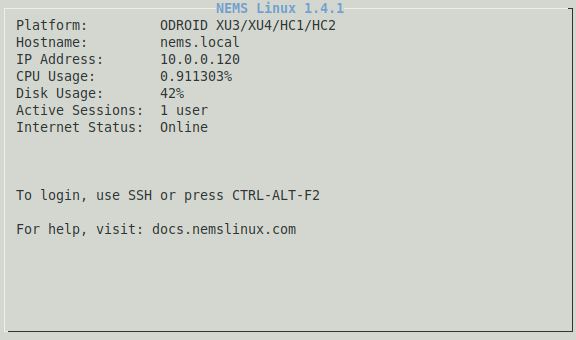
NEMS Server details as shown on a connected TV circa September 2018.